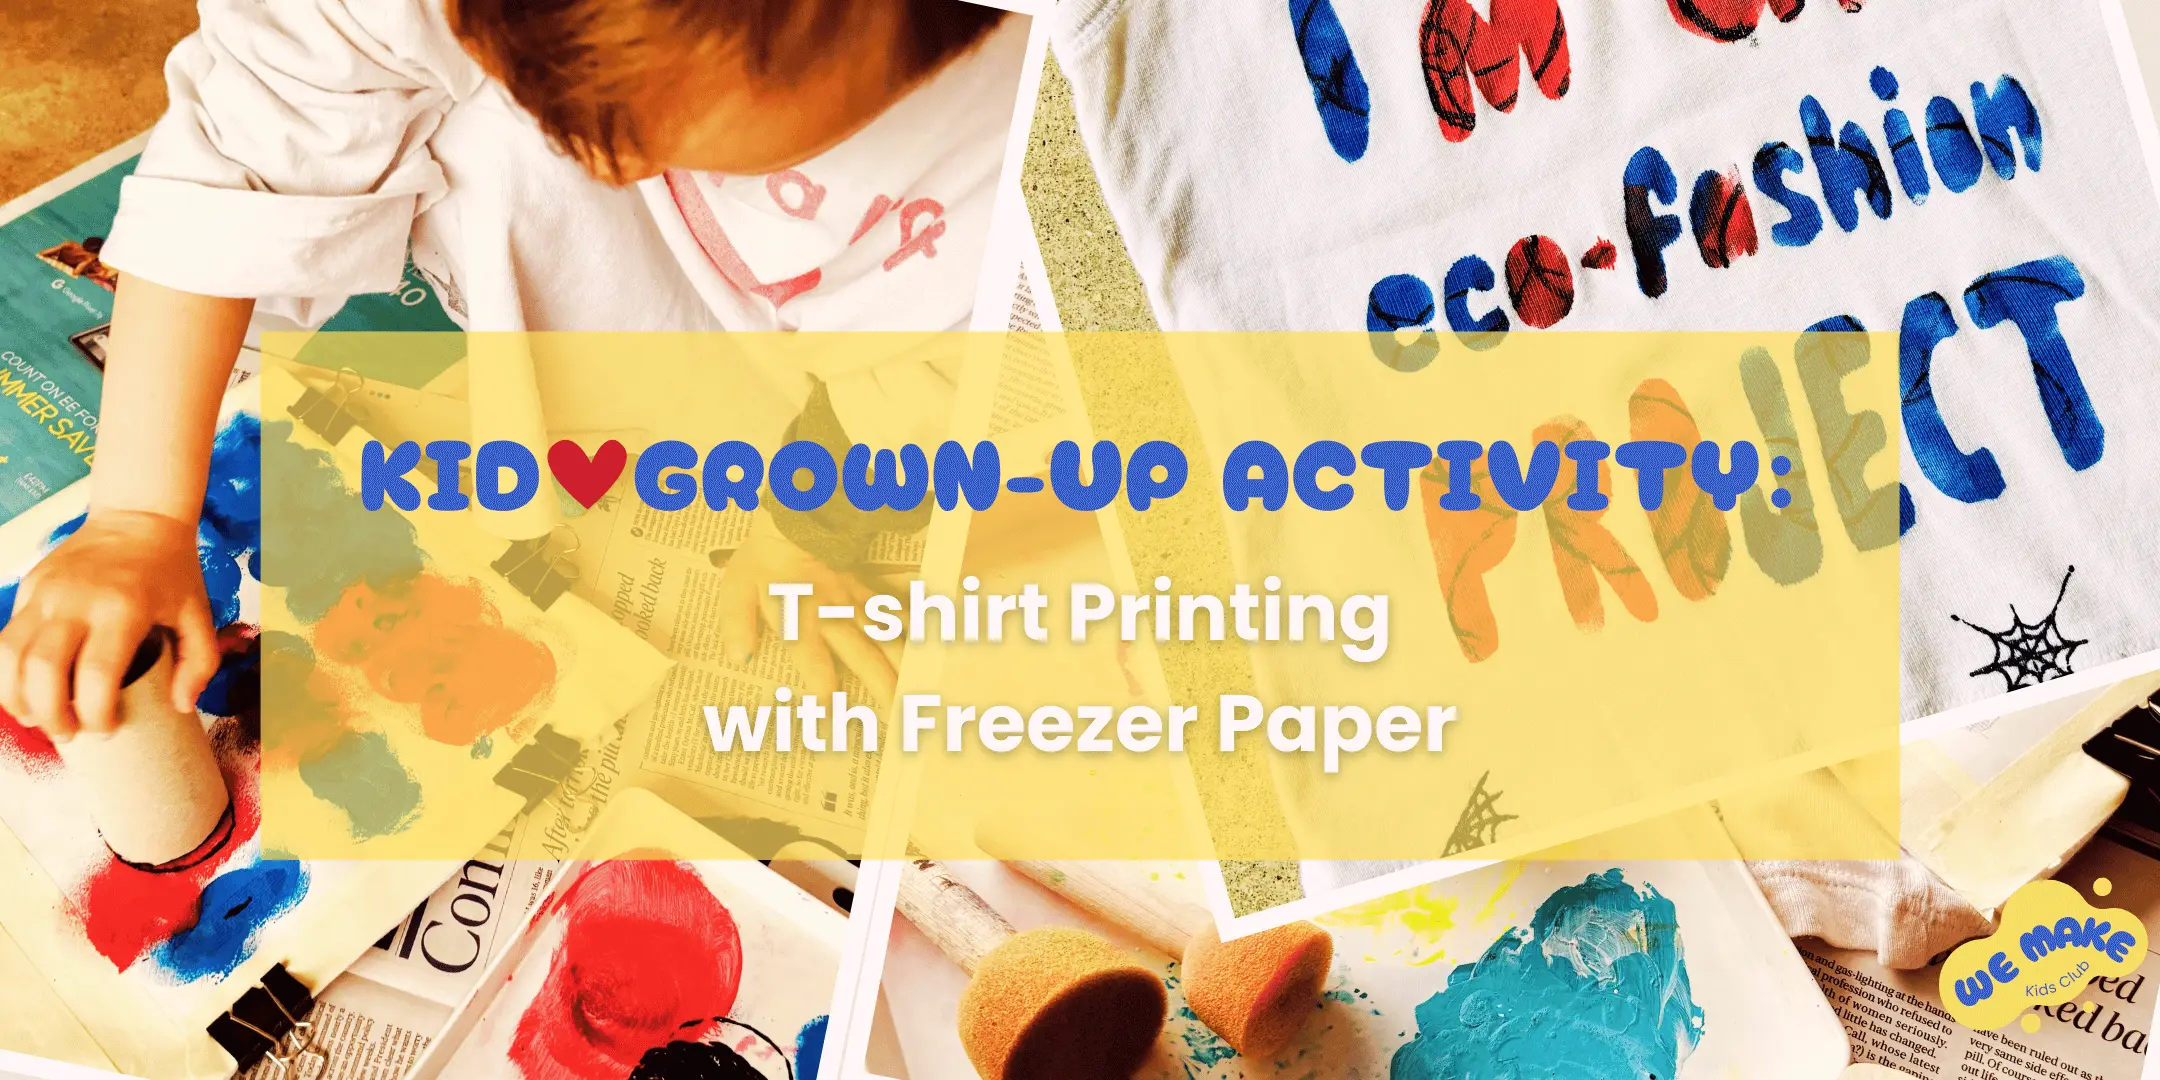
T-Shirt Printing with Freezer Paper
As I recently customised a t-shirt with my 3-year-old and it turned out so well, I fell like sharing the whole experience with you. The process was not only fun but also incredibly rewarding, and I'm eager to share it with you.
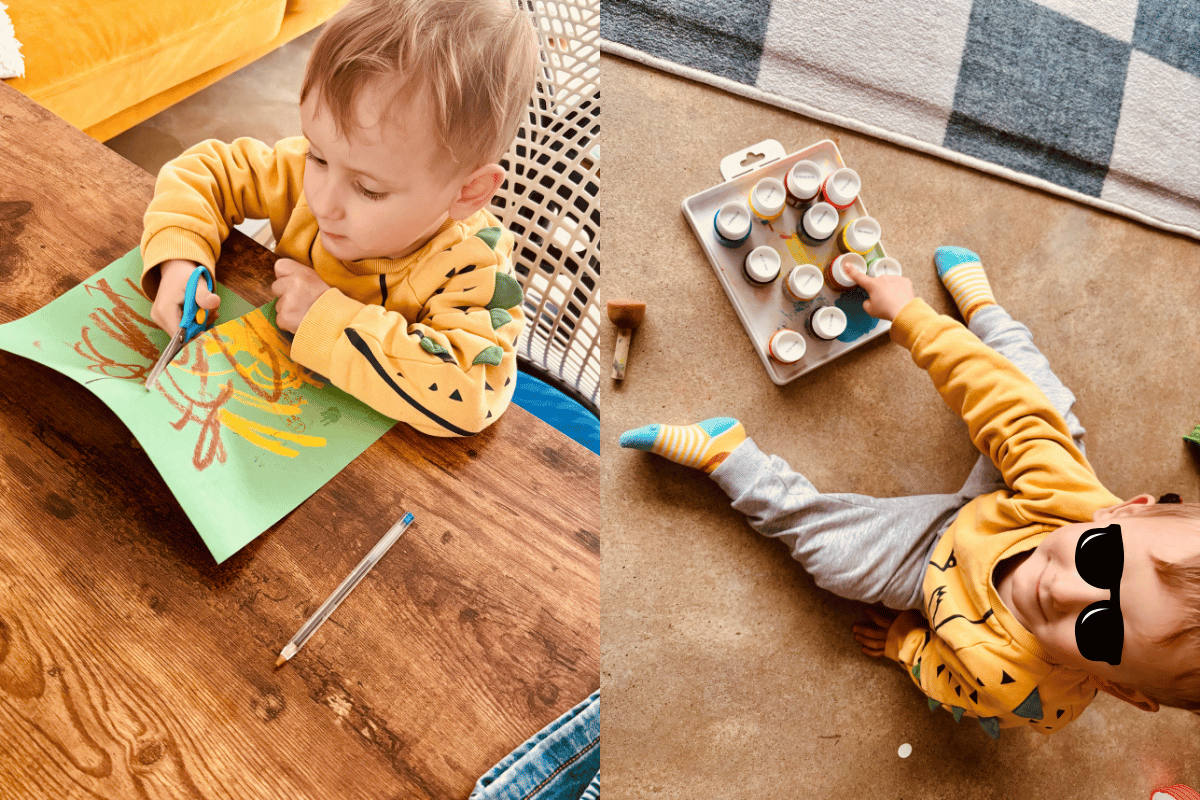
Encourage your team mate
With M by my side, we embarked on this creative journey together. While I prepared the materials, I made sure to give him small tasks to keep him engaged. He helped by cutting an old piece of paper following the lines I drew, which not only kept him busy but also gave him a sense of responsibility.
Materials Needed
To make the stencil, you'll need:
- Craft Knife
- Freezer Paper
- Iron
To print the t-shirt, you'll need:
- Fabric Paint
- Round Brushes
- Toilet Roll
- Cardboard (to place inside your t-shirt)
- Clips (you could try clothes pegs)
Don't worry if you don't have all these materials at home, my only advice is, be creative and have fun. That being said, the materials listed above are a great investment because you can reuse them multiple times. Plus, they might just make an appearance in one of my upcoming workshops!
Why Freezer Paper?
Freezer paper is a fantastic choice for this project. It's inexpensive, easy to use, and you get a lot of it. Simply cut a piece to the size of your t-shirt, draw your design on the non-shiny side with a pencil, and cut it out using a craft knife. You can create big letters or any design you like—feel free to use a tablet/laptop to trace a specific pattern.
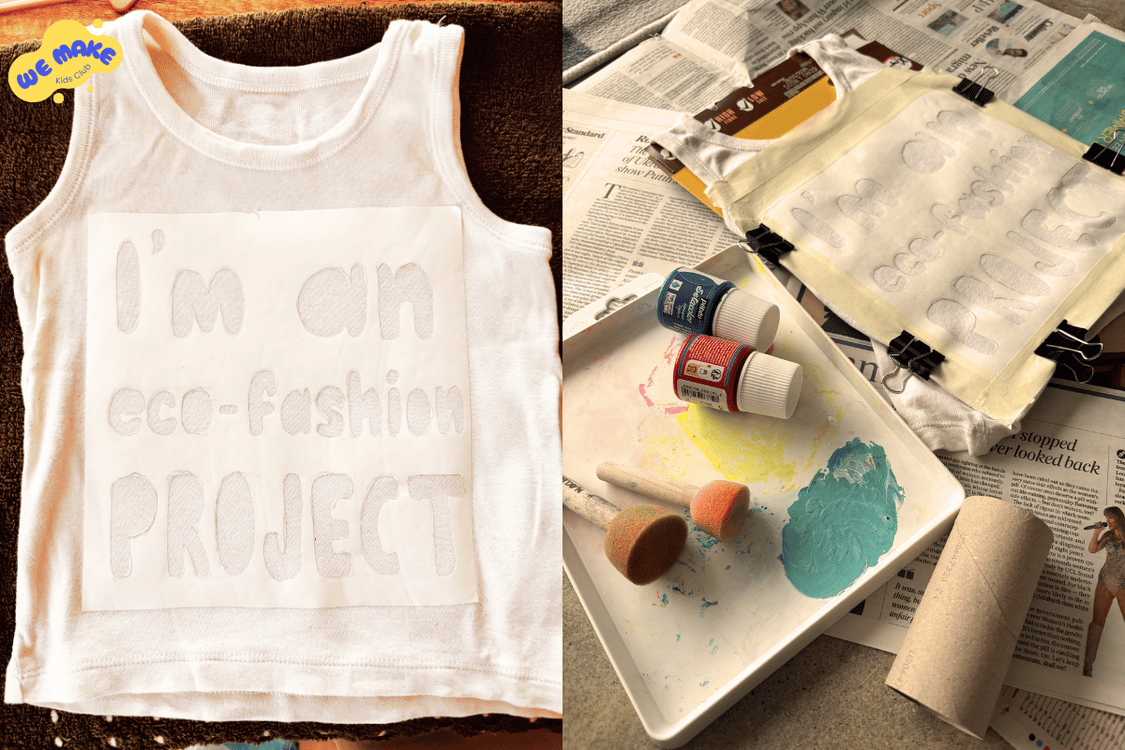
Bringing the Design to Life
Next, iron the freezer paper onto the front of your t-shirt with the shiny side down. The heat will make the paper stick to your fabric, but don't worry; it peels off easily.
Time for Your Little One to Shine!
Cover your work surface with newspaper or cardboard and place your t-shirt on top. Don't forget to insert a piece of cardboard inside the t-shirt to prevent paint from seeping through.
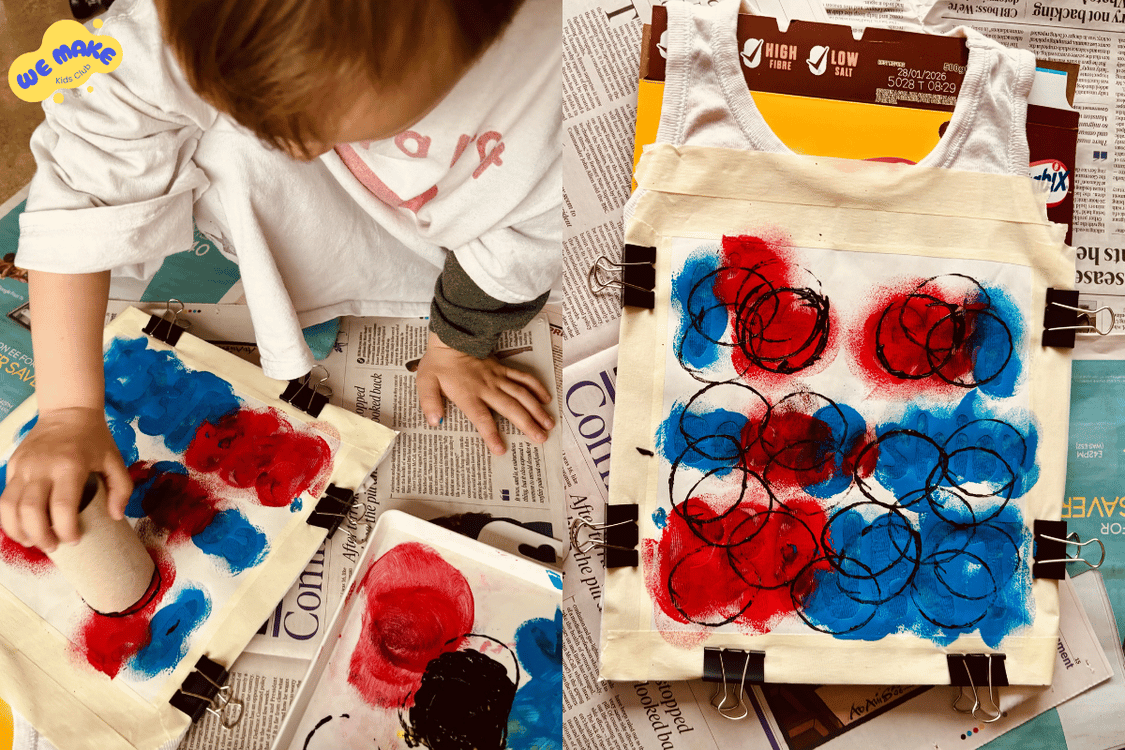
Let your child choose the colours for the project! M picked three colours: two for the round brushes and one for the toilet roll print. Place a small amount of paint on a paper plate (I use a plastic tray, again, great little investment) and explain to your child that their mission is to cover the design with paint.

You can guide them gently, reminding them they can switch colours or try different tools. Once the stencil is filled with paint, introduce the third colour using the toilet roll. This adds a fun texture and encourages creativity.
You could also use anything else that is in your house: some bottle caps, bubble wrap, onion nets, etc.
Finishing Touches
Stop whenever you like, and if your child gets tired, you can finish it up for them. The final result will still be something you've created together.
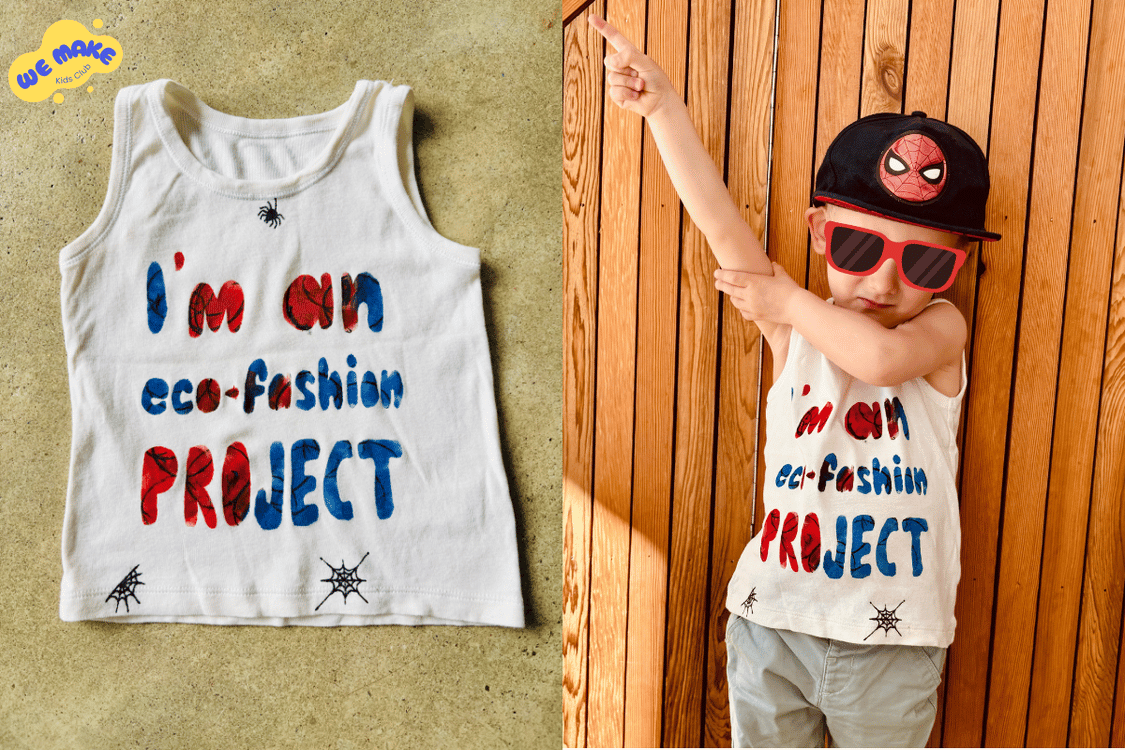
Once you're happy with the paint coverage, let it dry completely before peeling off the freezer paper. I learned the hard way that peeling too soon can smudge the design! So, please, wait. Did you notice the little spider and cobwebs in the pictures? Did you really think it was part of my plan?
Congratulate your budding artist!
Take a moment to admire your child's artistic talent and highlight how much fun you had together. This activity isn't just about creating something beautiful; it's about sharing a memorable experience with your child.